
Written by Mo Kahn on
November 17, 2025


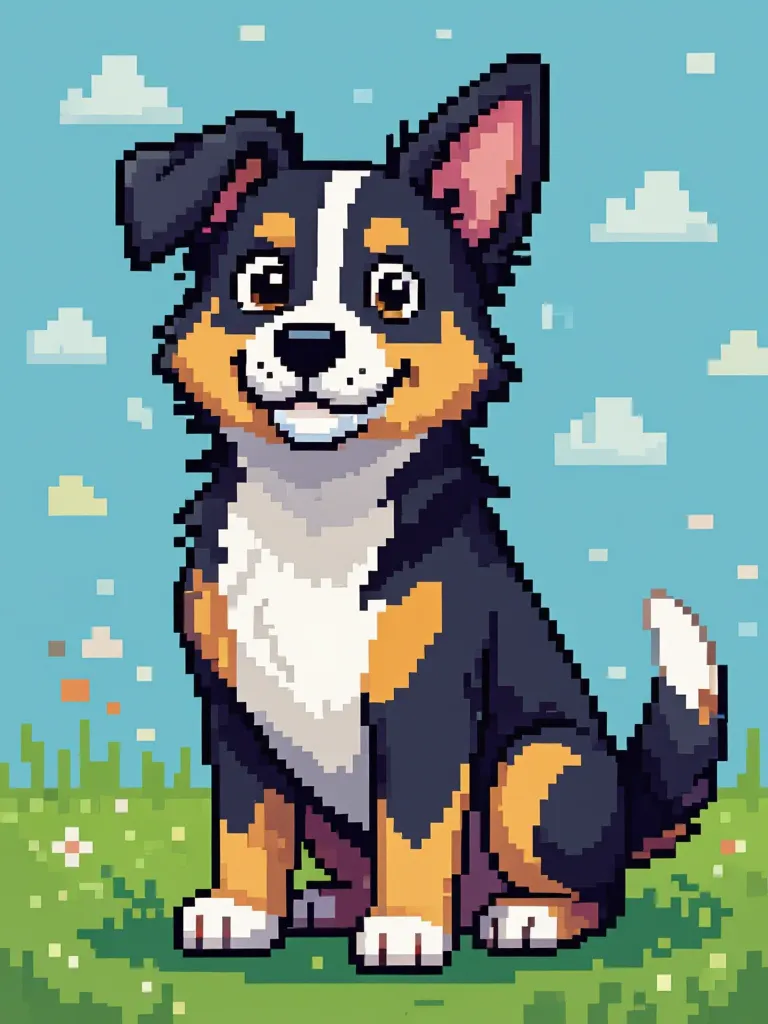
Want to hide parts of your photo or give it that retro video game vibe? Pixelation is the quickest way to do it. It replaces fine details with chunky color blocks, creating a bold, blocky effect that’s both useful and fun.
The purpose of pixelation can vary, from privacy to creative emphasis, and you can target a specific region or area of an image to achieve these effects.

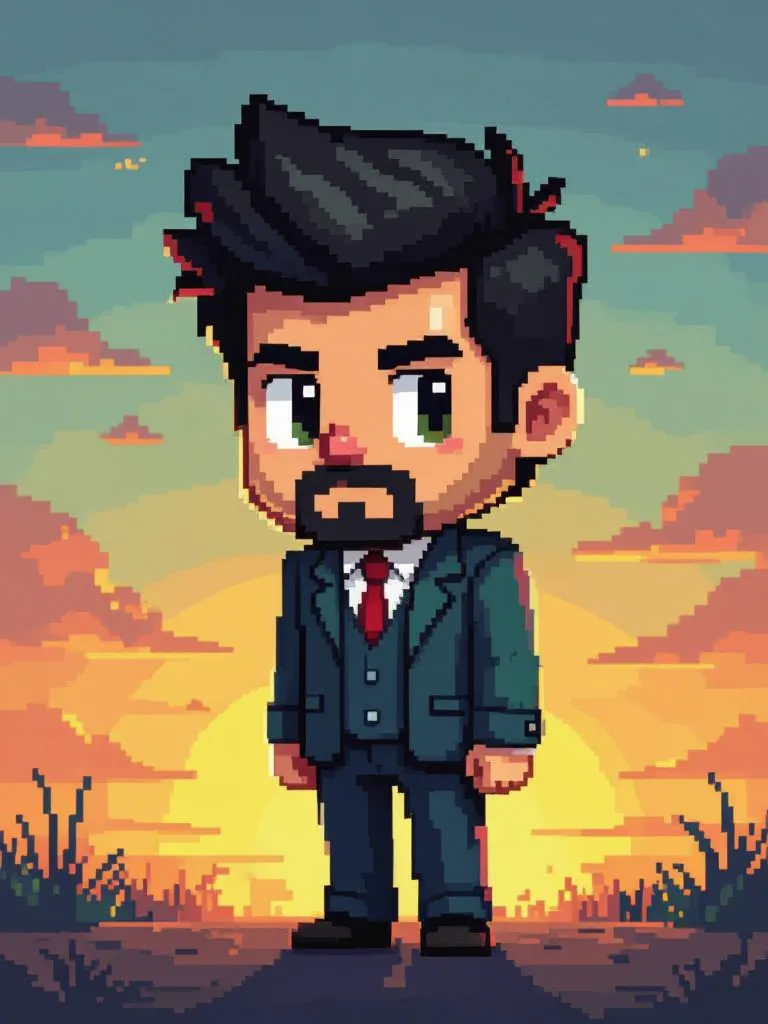
Pixelation turns an image into a mosaic of squares, each representing a group of pixels from the original photo. Pixelation can also occur when you resize an image beyond its original dimensions, causing the image to appear blocky as the pixel data is stretched. Understanding image dimensions is important for controlling the pixelation effect. It’s commonly used for:
Whether you’re censoring or creating, it’s a simple process that works for everyone.
When it comes to creating a pixelated image online, understanding image files and how to work with them is key to getting the best results. Whether you want to pixelate an entire photo for a retro pixel art effect or just obscure sensitive information, the process starts with choosing the right file format. Popular image files like JPG, PNG, and GIF are widely supported by most online image pixelator tools, making it easy to upload and edit your photos directly in your browser.
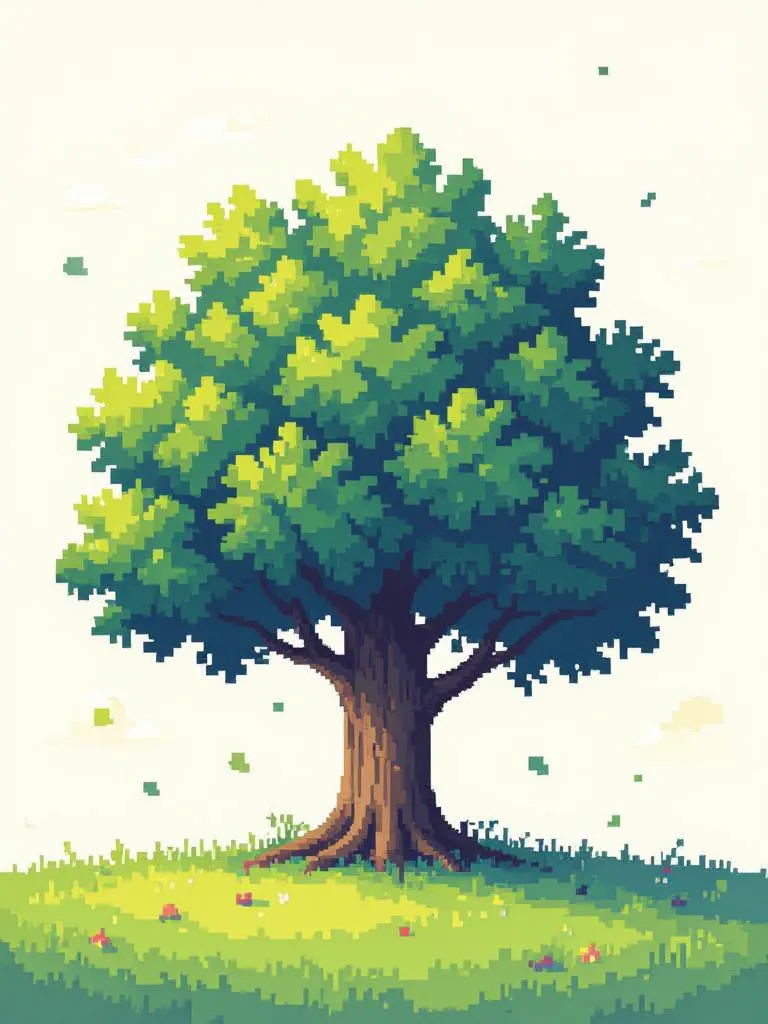
To get started, simply upload your image file to a free online service or tool. Once your image is uploaded, you’ll usually find options to adjust the pixel size or block size using a slider or menu. This lets you control how chunky or subtle the pixelation effect appears—set a larger pixel size for a bold, mosaic filter look, or keep it smaller for a softer, more detailed effect. For example, setting the block size to 10 pixels can instantly transform your photo into a Minecraft-style pixel art masterpiece.
Each image file format has its own strengths. PNG files are perfect for images with transparent backgrounds, while JPG files are ideal for high-quality photos. GIFs work well for simple graphics or animations. Before uploading, check the file size—most online tools have a limit (often around 5MB) to ensure smooth performance. Make sure your chosen tool supports your file type, whether it’s PNG, JPG, or GIF.
Personalizing your pixelated image is easy with the right settings. Many tools offer additional effects, like a mosaic filter for a unique artistic style or a blur effect to hide faces, text, or other sensitive information. You can experiment with different block sizes, pixelation styles, and even combine effects to create truly personalized content. If you’re new to pixelation, look for tutorials or guides within the tool to help you understand the settings and improve your results.
Working with image files online is simple and flexible. By exploring the available settings and effects, you can quickly create a pixelated image that enhances your content, protects privacy, or adds a creative twist to your photos. Whether you’re pixelating for fun or function, the right image pixelator tool makes it easy to achieve the look you want—no advanced skills required.
With starryai’s edit tool, pixelating an image takes seconds. No complicated settings or software.
Here’s how you do it:
You can select or choose a region of the image to apply pixelation, and change the settings for different results.
That’s it. A few clicks and your image is perfectly pixelated.
Pixelation is more than a blur — it’s a creative effect that can transform your photo’s tone or protect what matters. With starryai, all you need is an image and a simple prompt. Upload, pixelate, and you’re done.
Give it a try and see how quickly you can turn any photo into a pixel-perfect masterpiece.