
Written by Mo Kahn on
November 3, 2025


Creating your own coloring book is easier than you think. Whether you want to turn your family photos into coloring book pages, design a kids activity book, or sell your own artwork online, the process is simple with the right tools. Every coloring book is created through a series of creative decisions that shape its final look and feel.
Here’s a complete guide on how to make a coloring book from start to finish. Before you begin, it's important to understand the market for coloring books so you can identify what makes your project unique. Take time to decide on your book's direction or target audience to ensure your coloring book stands out.
Every great coloring book starts with a theme. It gives your pages a sense of connection and keeps your art consistent.
Some popular coloring book ideas:
When picking a theme, consider the different elements that will make up your chosen theme, such as characters, backgrounds, and objects.
Pick something that reflects your creativity and what your customers (or kids) will enjoy coloring.
You can also search online for inspiration or reference images to help define your coloring book theme.
You can use your own photos, sketches, or digital art to create your coloring book pages. You can easily edit and manage your images on your computer, making adjustments before generating your final designs.
Remember, saving your work frequently on your computer is essential to avoid losing any progress during your creative process.
Keep your artwork simple so it’s easy and fun to color.
Once you have your images, it’s time to turn them into printable coloring book pages.
Here’s how:
You may need to repeat these steps for each page to ensure consistency throughout your coloring book.
Save each page as a high-resolution PDF or PNG file.
In Canva or another layout tool:
Prepare your book to be published, whether digitally or in print.
Once done, download the full PDF file for printing.
If you plan to sell your coloring book, consider whether you need to form a business entity to handle sales and distribution.
When creating a coloring book, it’s important to think about who will be enjoying your pages—adults, children, or maybe both! The best coloring books are designed with their audience in mind, from the choice of theme to the level of detail in each coloring book page.
For adults, coloring books often feature intricate line art and detailed black and white outlines. These designs can include complex patterns, mandalas, or scenes from life that invite focus and relaxation. If you’re designing for adults, don’t be afraid to use your imagination to create pages with fine detail—think elegant animals, elaborate cars, or even scenes inspired by your own family photos. Using tools like Canva, you can easily enhance your images, adjust the level of detail, and create high-quality files ready for printing.
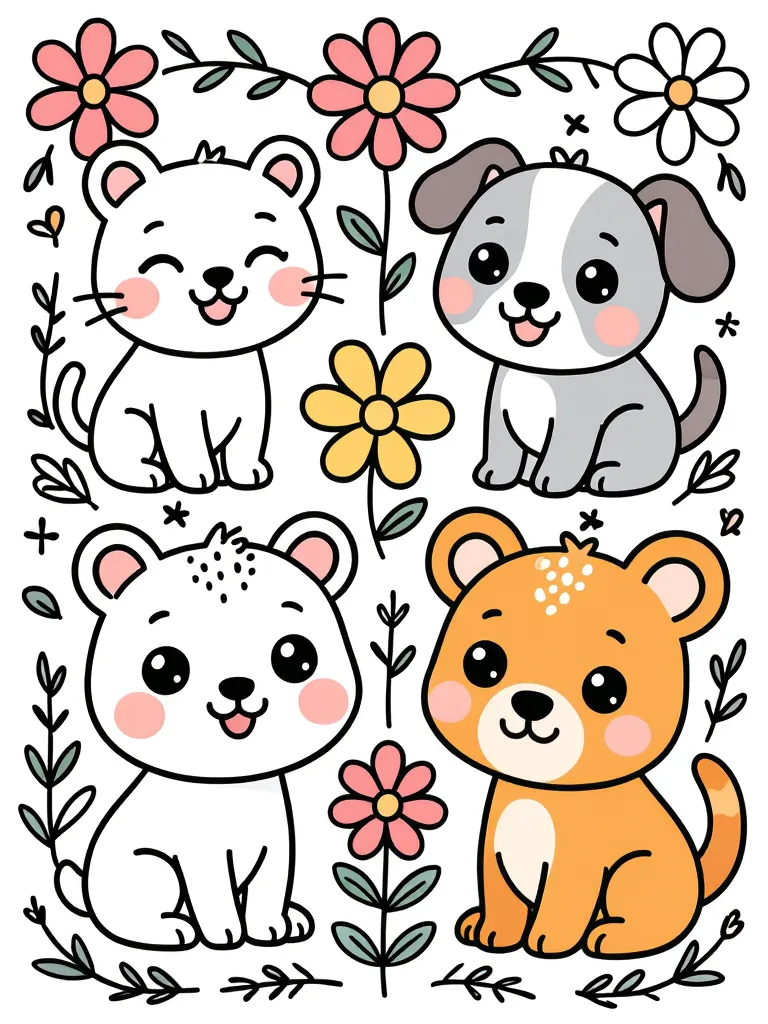
Children’s coloring books, on the other hand, shine with bold, simple shapes and playful themes. Pages featuring friendly animals, family adventures, or whimsical cars are always a hit. When sketching your designs, keep the lines clear and the spaces open for easy coloring. You can even use your own photos as inspiration, turning them into white outlines that are fun for kids to fill with color.
No matter your audience, the process of creating a coloring book page starts with a great idea. Choose a theme that excites you—maybe a collection of animals, scenes from family life, or a fantasy world full of adventure. Sketch your design, then use digital tools to convert your art or photos into crisp black and white outlines. Canva and similar platforms make it easy to adjust, resize, and save your pages as printable files.
When it comes to printing, quality matters. Select thicker paper to prevent colors from bleeding through, and consider how your audience will color—markers, crayons, or colored pencils all work best on sturdy pages. If you’re sharing your coloring books online, platforms like YouTube or social media are great places to connect with other artists and coloring fans, showcase your work, and get new ideas for your next project.
Designing coloring books for adults and children is a creative journey. By focusing on your audience, experimenting with themes, and using the right tools, you can create coloring book pages that are both fun and inspiring. Whether you’re working from family photos, sketching animals, or dreaming up new worlds, your imagination is the key to bringing each page to life.
You can print your coloring book at home or through print-on-demand platforms like KDP (Amazon) or Lulu. Some print-on-demand services are free to use, while others may require you to pay for certain features or copies.
If you’re printing at home:
Don’t worry if you’re new to this process—it’s straightforward with the right tools.
If you want to sell your book:
If you don’t want to draw every page from scratch, try starryai. It’s an AI art tool that can generate black and white outlines or line art from your own photo or text prompts.
For example:
“Cute cats line art, black and white coloring book page for kids.”
In this section, I’ll talk through the steps of using starryai for coloring book creation. To get started, visit the starryai website and try generating your own images.
You’ll get high-quality images you can edit, resize, and include in your coloring book. It’s a fast way to generate ideas and speed up your creative process. Once you’ve created your pages, consider sharing your finished coloring book in a blog post or on social media to inspire others.
Making your own coloring book is a fun, creative project that combines art, design, and imagination. Throughout the process, there is a lot of learning involved, from experimenting with different styles to understanding what appeals to your audience. Whether it’s for kids, friends, or a small business, each page you create adds a personal touch that printed books can’t match. Many creators have learned valuable lessons about creativity, sharing, and even the business side of publishing by making and distributing their own coloring books.
With tools like Canva and starryai, you can easily create, adjust, and print professional-looking coloring books—even from your own photos.
Start small, experiment with themes, and let your creativity do the rest. Remember, coloring is a wonderful way to stay present and enjoy the moment, making it as rewarding for the creator as it is for those who color your pages.