
Written by Mo Kahn on
July 1, 2026


You've probably got a portrait on your phone right now that would look better as pop art than it does as a plain photo. Maybe it's a selfie you want to turn into a sharper profile image, a pet photo that could become a print, or a customer shot you want to turn into merch for an Etsy listing. The appeal is obvious. Pop art takes an ordinary image and gives it attitude fast.
The catch is that most tutorials stop at the effect. They show you how to get bright colors and comic dots, then leave you to figure out why the result still looks muddy, cheap, or unusable for print. If you want to turn a photo into pop art for social posts, posters, shirts, or framed wall art, the workflow matters just as much as the style.
When people say they want to turn a photo into pop art, they usually don't mean “make it colorful.” They mean a very specific visual formula. Bold outlines, saturated color blocks, and strong graphic contrast.
That look comes from the 1950s to 1960s pop art movement, which emerged in the United Kingdom and expanded strongly in the United States. Artists like Andy Warhol and Roy Lichtenstein made the style instantly recognizable, and modern tools are now digitizing that same visual language rather than inventing a new one, as Adobe's pop art overview notes in its discussion of the movement's roots and continuing familiarity in markets like the US and Europe (Adobe on AI pop art).
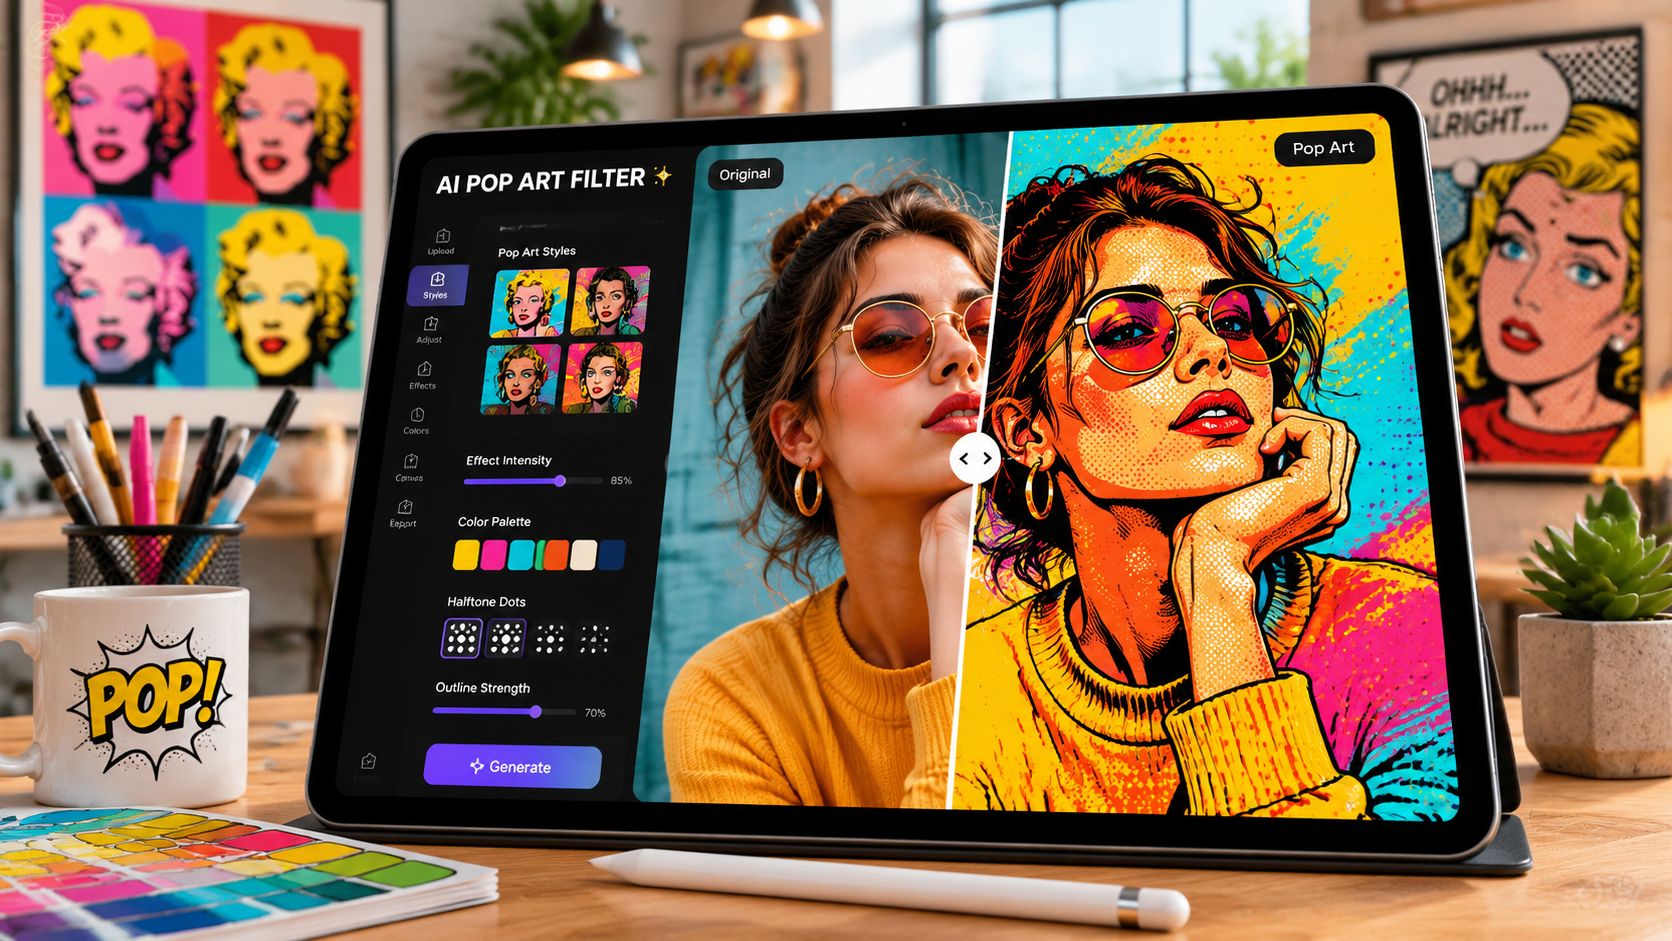
A good pop art conversion usually strips away photographic realism and replaces it with graphic decisions:
Practical rule: If the image still reads like a filtered photo, you haven't pushed it far enough into graphic territory.
Most creators end up taking one of three routes:
| Method | Best for | Trade-off |
|---|---|---|
| AI editor | Fast content, experiments, social posts | Less precision |
| Mobile app filter | Casual edits on the go | Generic output |
| Manual Photoshop workflow | Posters, merch, polished brand assets | More time and skill |
The right choice depends on what you need at the end. For a story post, speed wins. For a shirt design or a framed print, control wins more often than convenience.
A fast AI pass is useful when you need a pop art draft today, not after an hour of masking and posterizing. That speed matters for content calendars, but it matters even more if you plan to sell the design later. A result that looks punchy on Instagram can still print muddy on a shirt.
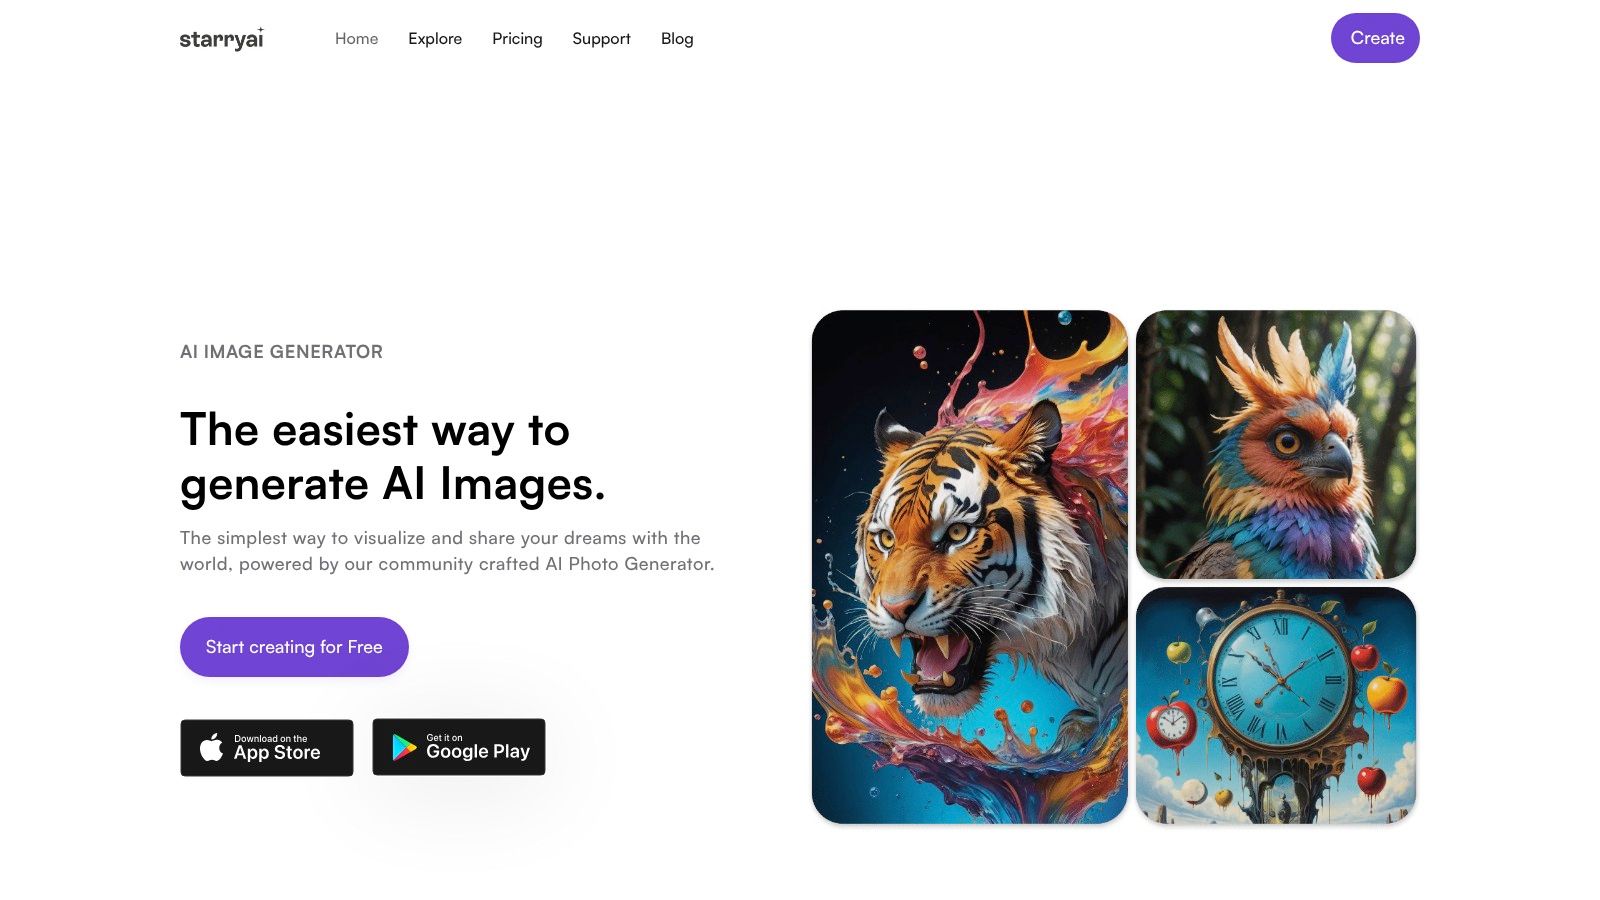
One practical option is starryai, which lets you upload a photo and push it toward a stylized pop art direction with image-based generation tools.
Start with a photo that already has clear structure. Good pop art needs readable shapes. If the face is half lost in shadow or the background is busy, the model has to guess, and guessed details are usually the first thing that prints badly.
Upload a strong source image
Choose a portrait with clean lighting, a distinct jawline, and separation between the subject and the background. Head-and-shoulders shots usually give the cleanest result.
Prompt for graphic decisions
“Pop art portrait” is too vague. Add the visual instructions that control the outcome: bold outlines, limited palette, posterized shading, halftone texture, flat background, screenprint feel.
Keep the frame simple
Tight crops convert better than scenes with hands, props, and background detail competing for attention. Simplicity gives you stronger shapes and a cleaner silhouette for posters and apparel.
Generate several versions and judge them like a printer would
Check edge clarity, facial readability, and color separation. The strongest option is usually the one with fewer colors and firmer boundaries, not the one shouting with the most effects.
These prompt structures usually produce cleaner results than generic one-line prompts:
Warhol-inspired portrait
Portrait photo, pop art portrait, bright yellow and pink color blocking, screenprint texture, bold contrast, simplified shading, graphic edges
Comic-book portrait
Portrait photo, comic book pop art, Ben-Day dots, bold black outlines, limited primary palette, vintage print texture, no photoreal skin detail
Cleaner merch-friendly version
Portrait photo, posterized pop art, thick black contour lines, flat background, limited complementary colors, strong facial silhouette, minimal background detail
The best AI draft is the one with a clean silhouette, readable features, and color zones that stay separate at a distance.
AI is strong at concept speed. It helps you test color directions, build social graphics fast, and mock up ideas before you spend time refining a final design.
The trade-off is file readiness. Hair edges can break apart. Shadows can turn blotchy. Background artifacts can sneak in around the shoulders and neckline. Those flaws are easy to miss on a phone and expensive to ignore if you are preparing art for Etsy posters, tees, or stickers.
Treat the AI result as a strong draft. If the image holds up in thumbnail view and still reads clearly when enlarged, you have something worth cleaning up for print.
Some people want a stylized avatar in a minute. Others need a file they can put on a poster, mug, or t-shirt without apologizing for the print quality. Those are different jobs, and the tool choice should reflect that.
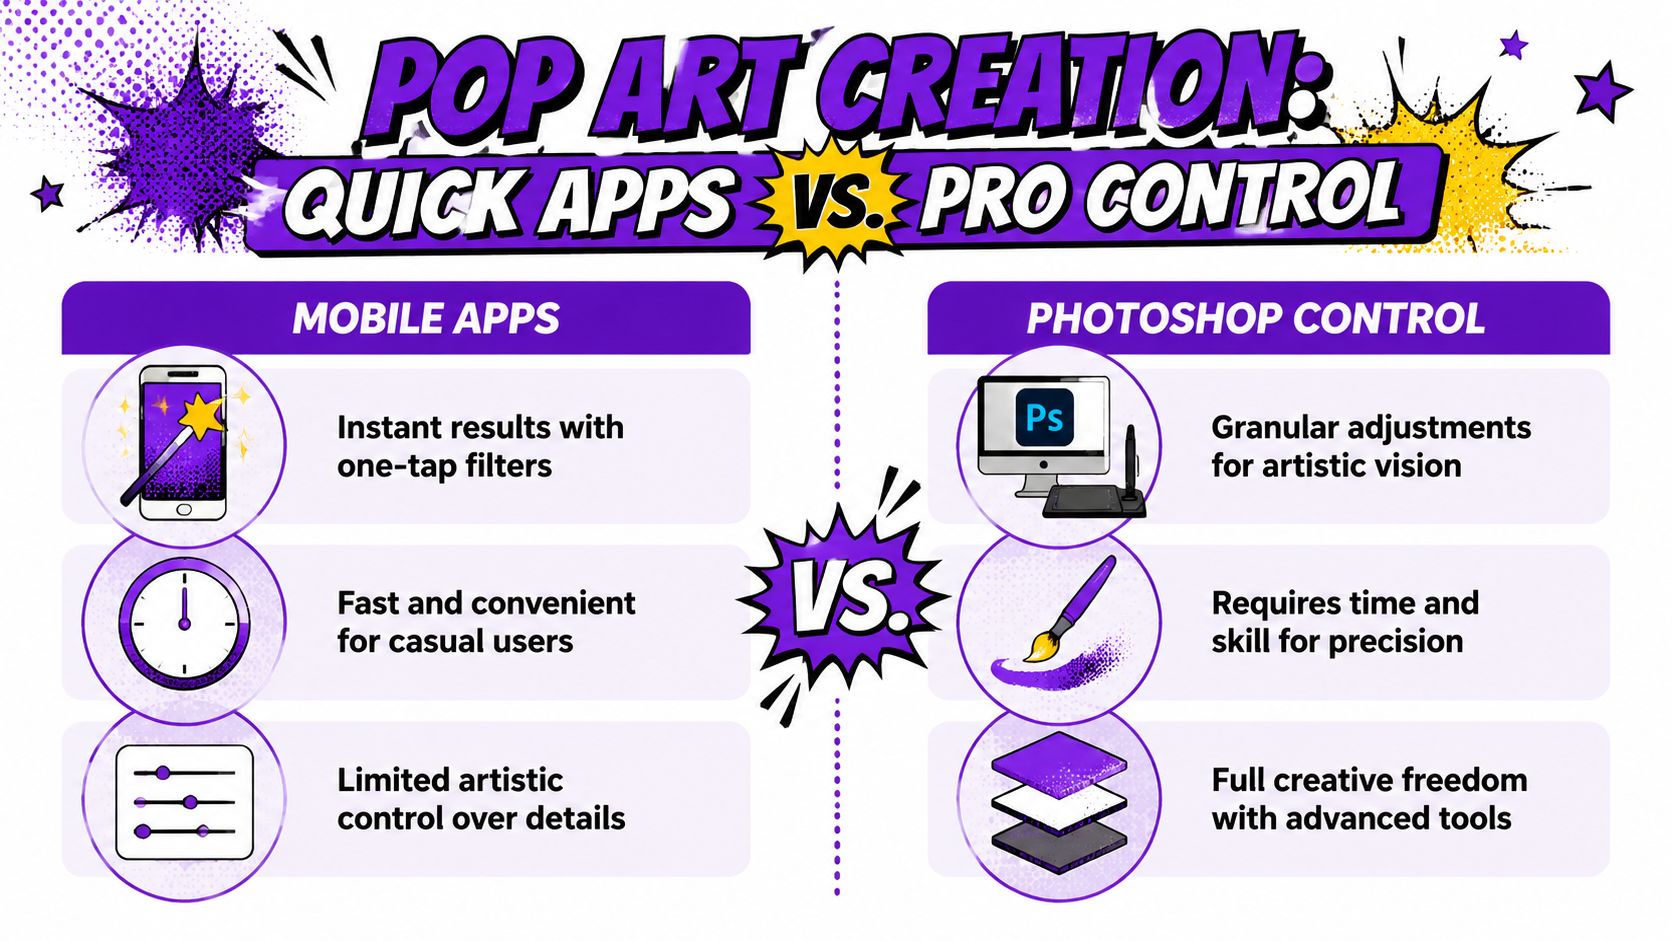
Quick mobile apps are useful when you need speed and don't care about deep control. They're good for:
The downside is that the effect often lands in the middle. Not photographic, not fully graphic. That in-between look is where weak pop art lives.
If you're comparing editing options more broadly, this roundup of AI photo editors for 2026 is useful for seeing where quick tools fit compared with heavier workflows.
Photoshop is slower, but it gives you control over the exact things that matter in pop art. You can isolate the subject, simplify tonal detail, tune outlines, and keep each step editable.
A common professional workflow includes converting the subject to a Smart Object, then applying Poster Edges with settings such as Edge Thickness 10 and Edge Intensity 3, followed by Color Halftone with a Maximum Radius of 16 to build the simplified forms and dot patterns associated with the style, as shown in this Photoshop pop art demo on YouTube.
If you're building the effect by hand, this order tends to hold up:
| Step | Why it matters |
|---|---|
| Isolate the subject | Keeps the focal point clean |
| Replace the background | Gives you color control |
| Simplify tones | Reduces photographic noise |
| Add edge treatment | Creates graphic definition |
| Apply halftone or posterization | Adds print-style texture |
| Export carefully | Protects the final use case |
A manual workflow looks slower at first, but it saves time when you need revisions. You can swap a background, adjust the palette, or sharpen edges without rebuilding the whole piece.
Choose the fast app route when the output lives mainly on screens. Choose Photoshop when the file needs to survive scrutiny at larger size, on physical products, or across multiple mockups.
That's why designers often use both. A quick app or AI pass helps discover the style direction. Photoshop finishes the job with control over edges, layers, and export settings.
The biggest mistake isn't using the wrong tool. It's starting with the wrong image.
Most tutorials agree on the same failure mode. A busy or low-contrast source image makes the final art weaker because clutter fights against the clean outlines and flat color regions that make pop art readable. Creator guidance also emphasizes strong luminance separation, complementary colors, and thick black outlines for the final punch, as described in Blend's tutorial on how to turn a photo into pop art (Blend pop art guide).
Some photos practically convert themselves. Others resist the style no matter how many filters you stack.
Look for these traits:
A limited palette almost always looks more deliberate. Pop art gets stronger when you commit to a few colors and let contrast do the heavy lifting.
Try this mindset:
If you want a broader primer on how these transformations work across aesthetics, this explanation of AI style transfer is helpful because it frames style as a translation of visual rules rather than a random effect.
Creative check: If every area is loud, nothing is loud. Save the strongest color contrast for the face and focal shapes.
A filter can get you close. Styling decisions make it look designed.
Use these finishing moves selectively:
The result should feel edited on purpose, not merely processed.
Much appealing pop art often meets an unfortunate end. It looks sharp on a phone, then prints soft, muddy, or strangely dull on merchandise.
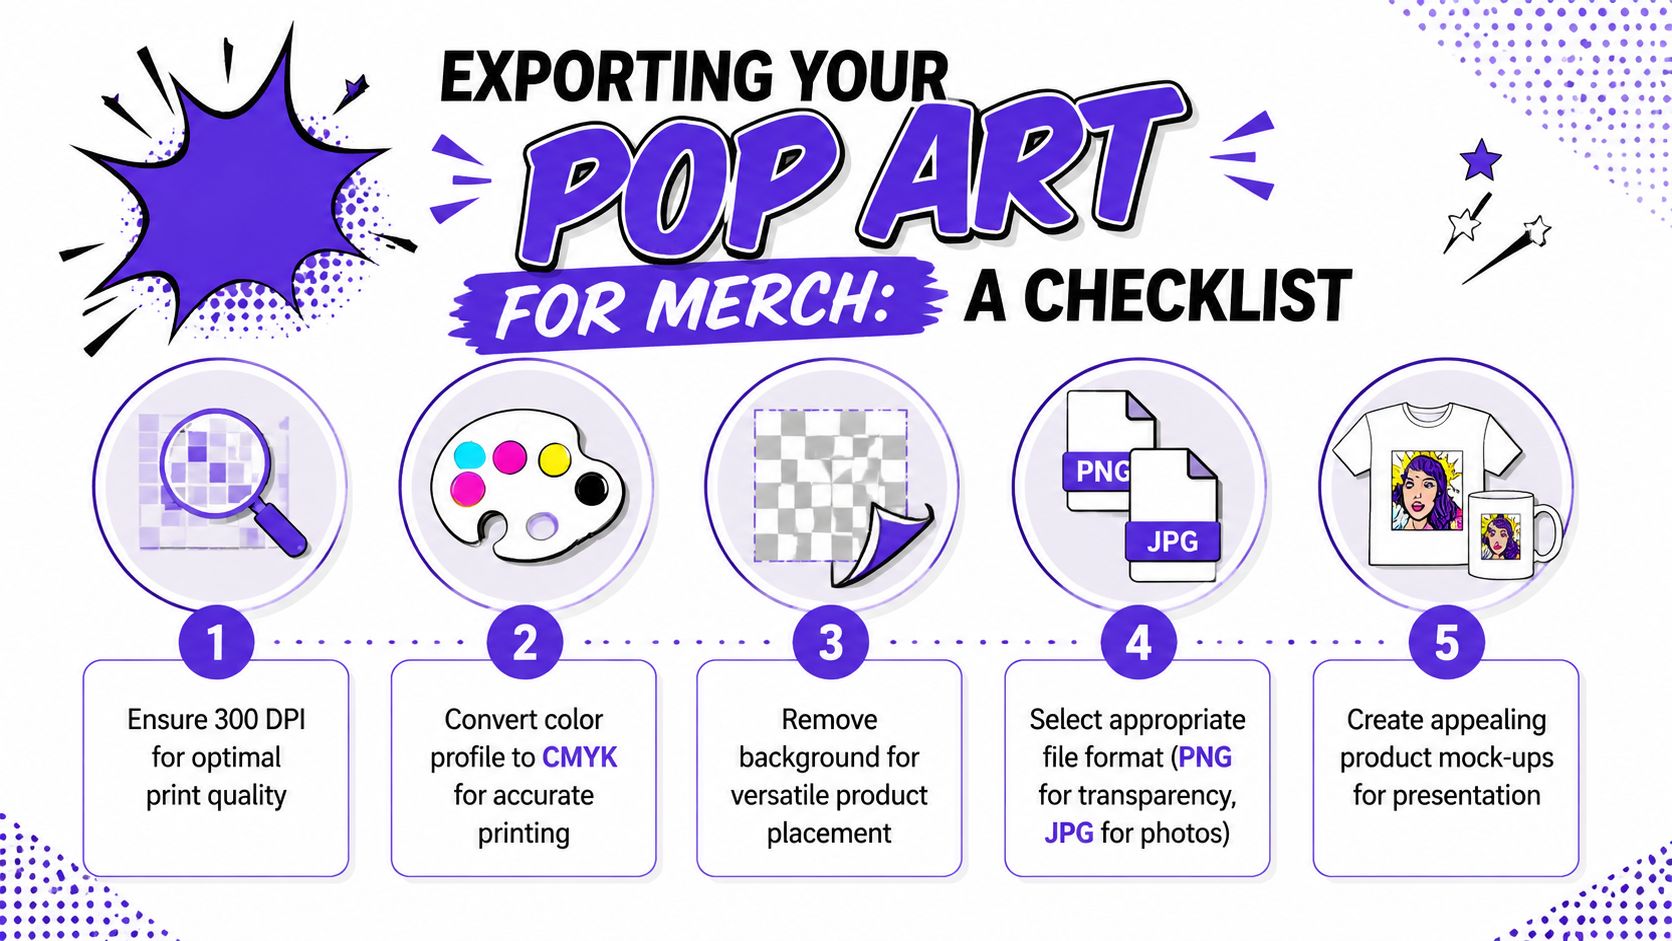
That gap matters because most guides focus on getting the look, not on making the file usable for posters, merch, or framed prints. More detailed tutorials acknowledge exports like JPG, PNG, or PDF, but they often stop short of actual production questions around softness, edge quality, and print color handling, which is why print-ready quality remains an underserved part of the topic in guidance like Zoner's pop art walkthrough (Zoner on creating pop art photos).
For most side-hustle use cases, treat export as part of the design process, not an afterthought.
If your source image is good but too small for the product you want to make, an upscaling step can help before final export. A tool like the AI image upscaler from starryai is useful when you need a larger working file for merch mockups or print prep.
For sellers working on framed pieces and wall presentation, this practical look at wall art considerations from Quote My Wall is worth reading because it pushes you to think about how the artwork will live in a room, not just how it appears in an editor.
A print-ready pop art file should still feel crisp when you inspect the edges, not just when you squint at the thumbnail.
A finished pop art portrait should do a job, not just look good in your gallery roll. The strongest use cases start with a clear destination. Etsy thumbnail. Poster print. Shirt front. Sticker pack. Social avatar. Each one rewards a slightly different crop, background treatment, and level of detail.
For social media, clarity wins. Use a tight crop, keep the face large in frame, and avoid small halftone details that disappear at profile size. For Etsy or print-on-demand listings, build a simple product family from one artwork instead of making a single isolated file. One portrait can become a square print, a vertical poster, a transparent-background shirt graphic, and a repeat pattern for mugs or phone cases. That is how a single image starts acting like a small product line.
Giftable pieces are an obvious fit, but there is more range here than custom couple portraits. Pet memorial art, graduation portraits, team gifts, bachelorette merch, creator branding, podcast cover variants, and booth signage all suit the pop art treatment when the color choices are intentional. Loud palettes feel playful. Restricted palettes feel more premium. That choice affects who buys it.
I usually tell junior designers to test the art in context before calling it done.
Drop the piece into a mockup, shrink it to thumbnail size, and ask two practical questions. Does the subject still read fast. Does the color still feel deliberate on the actual product surface. A design that looks strong full screen can fall apart on a cream shirt, a glossy mug, or a low-contrast marketplace preview. Catching that early saves revisions, refunds, and bad listing photos.
If you used starryai earlier to generate directions quickly, treat that output as the starting file, then adapt versions for the intended sales channel. The extra ten minutes spent making a poster version, a merch-safe version, and a thumbnail-friendly version is usually what separates a fun effect from a product people buy.