

Written by Mo Kahn on
July 22, 2026


You've probably got one open right now. A photo that would be perfect for a post, print, profile image, product mockup, or book promo if it weren't so blocky. You enlarge it, and the face falls apart. The text goes fuzzy. Clean edges turn into stair-steps.
That's the maddening part of pixelation. The image still feels usable. It's close enough to make you try. Sometimes that effort pays off. Sometimes it doesn't, and knowing the difference is the essential skill behind a good pixelated image fix.
Pixelation happens when an image is pushed beyond the amount of visual information it contains. The file may look acceptable at its original size, but once you enlarge it, the small squares become visible and details fall apart.
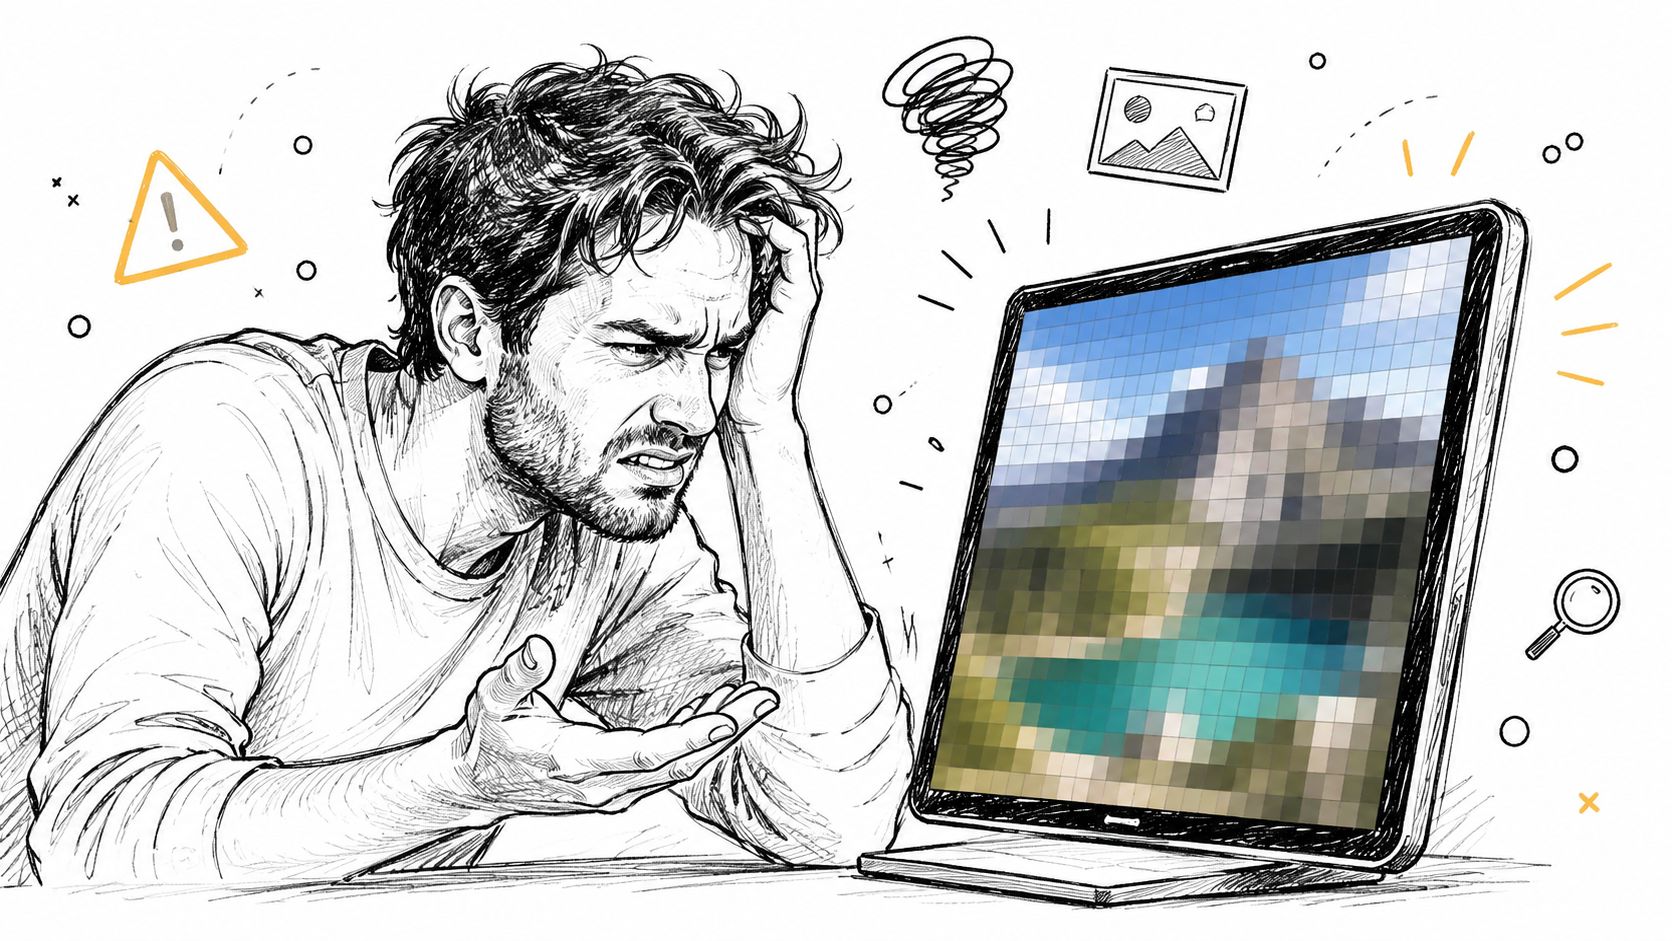
Digital images are made of pixels. If you stretch a small raster image too far, your editing app has to fill space that wasn't there in the original. Traditional enlargement methods mostly spread existing pixels around. That's why the result often looks soft, jagged, or both.
A lot of people assume every low-quality image can be rescued with AI. That's the promise in many tutorials, but it skips the hard truth. Pixelbin's discussion of unpixelating images notes that heavily compressed or repeatedly downloaded screenshots can lose recoverable detail that AI cannot reconstruct.
Practical rule: A good pixelated image fix improves what's still present. It can't restore information that was destroyed by tiny source size, severe compression, or repeated resaving.
The best candidates for repair still have some structure left. A face with visible eyes, hair separation, and readable lighting can often be improved. A product shot with intact outlines and decent contrast can usually be cleaned up for web use. Character art with recognizable line flow often responds well too.
These are harder cases:
That distinction matters. You're not just asking, “Can this be sharpened?” You're asking whether the image still holds enough signal to support repair.
A realistic mindset saves time. For a social post, a modest cleanup may be enough. For packaging, portfolio work, or print, the quality bar is higher, and some images won't clear it no matter how many tools you throw at them.
If the image matters, judge it at the final use size, not at thumbnail size.
A client sends over the only version they still have. It looked acceptable on a phone screen, but the moment you need it for a product page, ad, or print proof, the pixels show up fast. That is where AI upscalers usually earn their place. They do more than enlarge the canvas. They examine edges, textures, and tonal transitions, then generate new pixels that are more plausible than a standard resize.
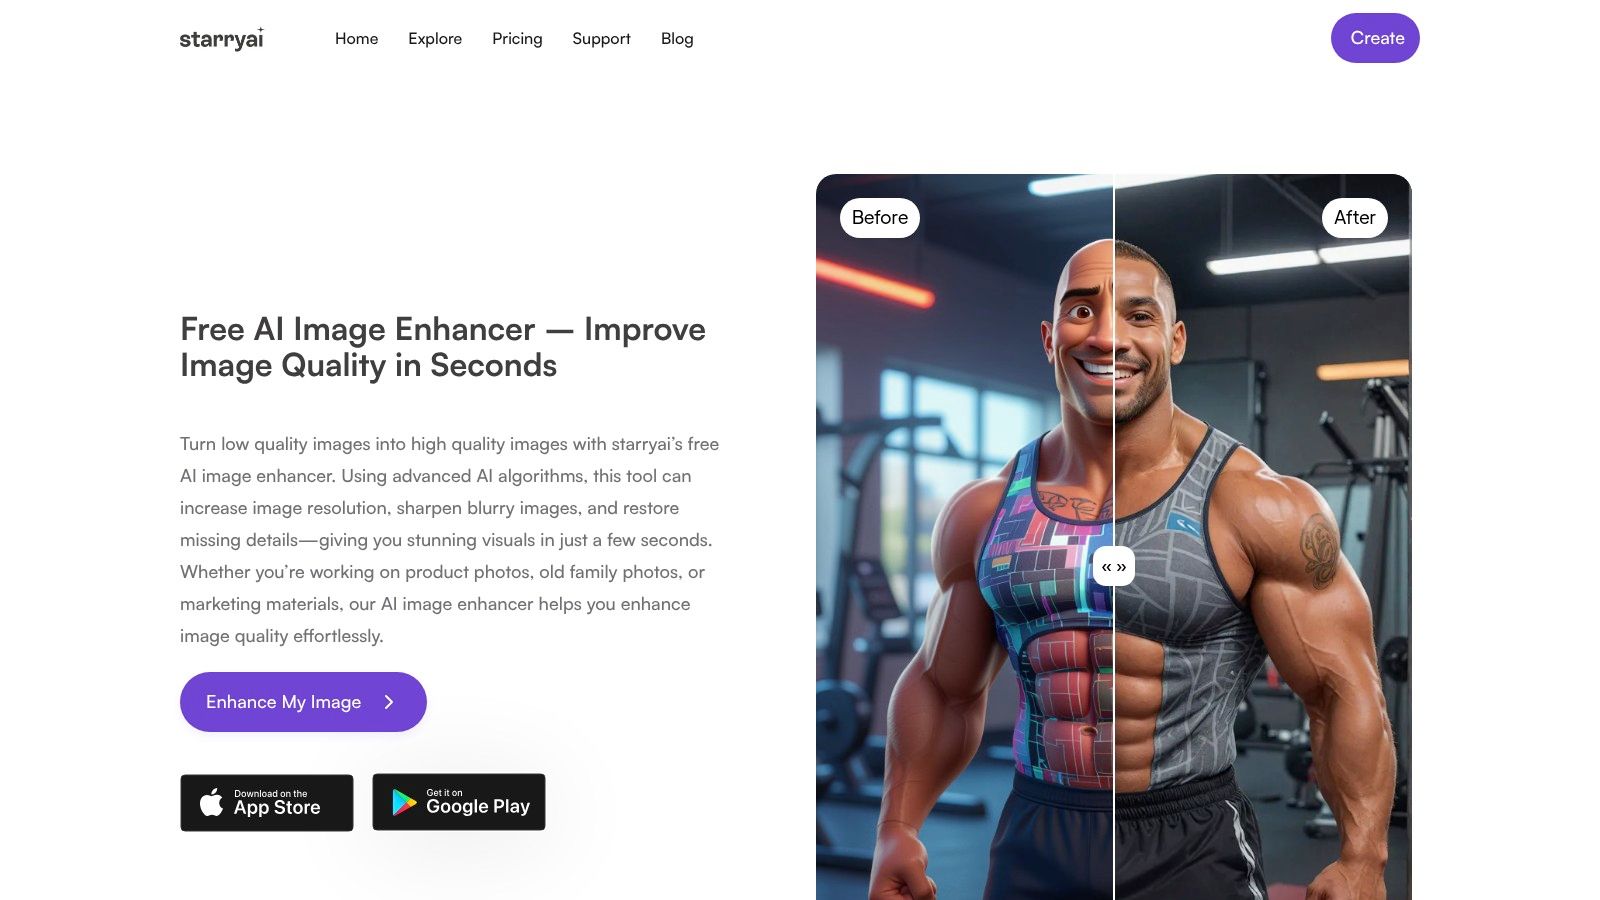
Standard enlargement keeps the original flaws and spreads them over a bigger area. AI upscaling tries to reconstruct structure, which is why faces, product edges, and illustrated shapes often come back looking cleaner instead of larger.
That said, AI is still guessing. Good guesses can save an image for web, social, presentation decks, and sometimes even light print use. Bad guesses create waxy skin, brittle hair, fake pores, or lettering that looks confident but wrong. The practical question is not whether AI can upscale an image. It is whether the file still contains enough believable information for the model to build on.
I use AI first when the image has recognizable forms but not enough resolution. I avoid aggressive passes on files with heavy JPEG damage, tiny text, or features that have already collapsed into mush. In those cases, the tool may produce something sharper-looking but less truthful.
For fast triage, a browser-based tool is often enough:
Start with the cleanest source available
Pull the earliest export, original upload, or camera file you can get. A reposted image from social or a marketplace thumbnail gives the model less to work with.
Run one controlled upscale pass
Tools such as starryai's AI image upscaler are useful for testing whether the image is recoverable without opening a full editing app. Keep the first pass moderate if the file already has compression noise or soft focus.
Judge the result at final use size
A repair that looks impressive at 300 percent zoom can fall apart in the actual layout. Check it where it will live: product grid, hero banner, slide, or print proof.
Inspect the failure zones
Look closely at eyes, hairlines, fabric texture, label text, and high-contrast edges. Those areas reveal very quickly whether the upscale added credible detail or decorative nonsense.
A short demo helps if you want to compare what this process looks like in practice.
Some image types benefit more than others:
| Image type | What usually improves | What still needs caution |
|---|---|---|
| Product photos | Cleaner edges, more defined surfaces, better overall presentation | Small label text and reflective materials |
| Portraits | Better facial separation and clearer eyes at modest sizes | Skin texture, hair realism, and teeth |
| Illustrations | Smoother contours and cleaner color transitions | Thin strokes, fine pattern work, and tiny lettering |
| Screenshots | Better readability for simple interface elements | Compression blocks, icons, and lost micro-detail |
A good upscale should look more usable, not more invented.
If the result starts feeling synthetic, treat that as feedback. The image may still be salvageable for a smaller use case, but not for the larger or more demanding one you had in mind.
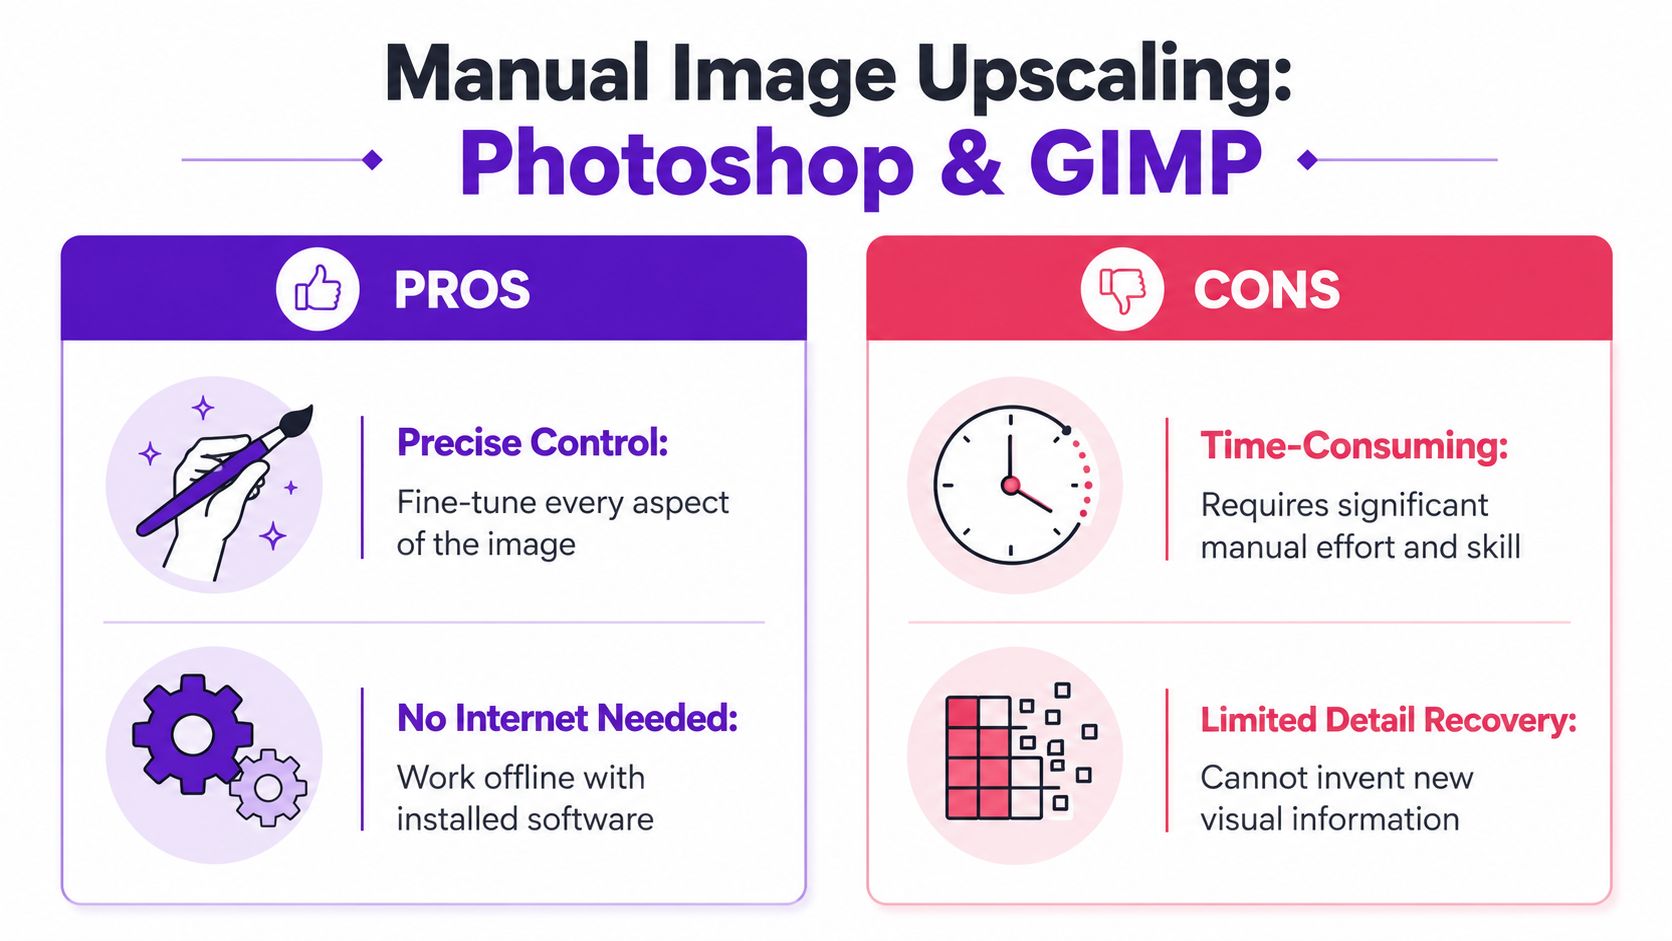
Manual repair still matters because it gives you control. AI can be fast, but manual work lets you decide where to soften, where to sharpen, and where to leave things alone.
The old-school method is simple and still useful. Nucleus Technologies' guide to fixing pixelated images describes a two-step workflow: apply Gaussian Blur to soften rough pixels, then use Unsharp Mask with settings typically around 40-60% to restore edge definition without bringing the blockiness right back.
A practical version of that workflow looks like this:
This method works because blur hides the most obvious pixel grid, while sharpening brings back perceived structure. It's a balancing act, not a magic formula.
Manual correction can improve the look of pixelation, but it can't invent missing eyelashes, lettering, or fabric weave that never existed in the source.
Photoshop is stronger when you need selective control. GIMP is useful when you want a no-cost editor and don't mind more hands-on adjustments. In either app, manual cleanup makes sense when the problem is uneven. Maybe the background is salvageable but the subject's face needs gentler handling. Maybe product edges need help, but the logo area shouldn't be touched.
Manual editing is also safer when AI keeps hallucinating the wrong detail. That happens on old screenshots, low-res memes, and graphics with tiny text. In those cases, softer cleanup plus restrained sharpening often looks more honest than a heavy AI pass.
A simple comparison helps:
| Approach | Best for | Limitation |
|---|---|---|
| AI upscaling | Fast restoration and broad improvement | Can invent unnatural detail |
| Photoshop manual workflow | Selective control and polished retouching | Takes time and judgment |
| GIMP manual workflow | Accessible cleanup without paid software | Fewer convenience features |
For print work, remember the target standard matters. Nucleus also notes the long-standing benchmark of 300 PPI for print-quality images in professional use. If your starting file is far below what your final size demands, manual cleanup may improve appearance, but it won't change the fact that the source began thin.
Sometimes you don't need a deep restoration workflow. You need to fix a screenshot before posting it, clean up a product image from your phone, or make a profile photo usable before a deadline. That's where browser tools and mobile apps earn their place.
These tools are built for speed. You upload, enhance, download, and move on. For social posts, quick portfolio updates, lightweight merch previews, or an urgent listing image, that convenience is hard to beat.
They're also less intimidating than desktop editors. If you don't live in Photoshop, a clean browser interface can get you to “good enough” much faster. For creators who work from a phone first, that matters more than feature depth.
If you're comparing broader editing options, this roundup of AI photo editors for creators is a useful starting point.
Convenience has a cost, and it isn't always money. PhotoGrid's discussion of depixelating images points to a strong privacy concern here. 68% of mobile users in major markets including the US, EU, and India avoid cloud-based image enhancers due to data privacy fears.
That concern is reasonable. If you're uploading selfies, client work, character art, unreleased product images, or commercial designs, you should know what happens to those files after upload. Many web tools talk about speed and watermark-free exports. Fewer are clear about storage, retention, training use, or commercial safety.
Before using any web app, check three things:
Fast tools are great for low-risk assets. For personal or client-sensitive images, caution matters as much as image quality.
Browser apps are often the right answer. They're just not the automatic answer.
You open an old photo, run it through two enhancers, sharpen it, soften it, sharpen it again, and it still looks wrong. That usually means the file is not asking for repair. It is asking for a different decision.
Knowing where that line is will save you time. It also protects quality. Some pixelated images can be improved enough for social posts, mockups, or small digital use. Others break apart the moment you ask them to do real work, especially for print, product pages, or anything that needs to look trustworthy.
Use this as creative triage.
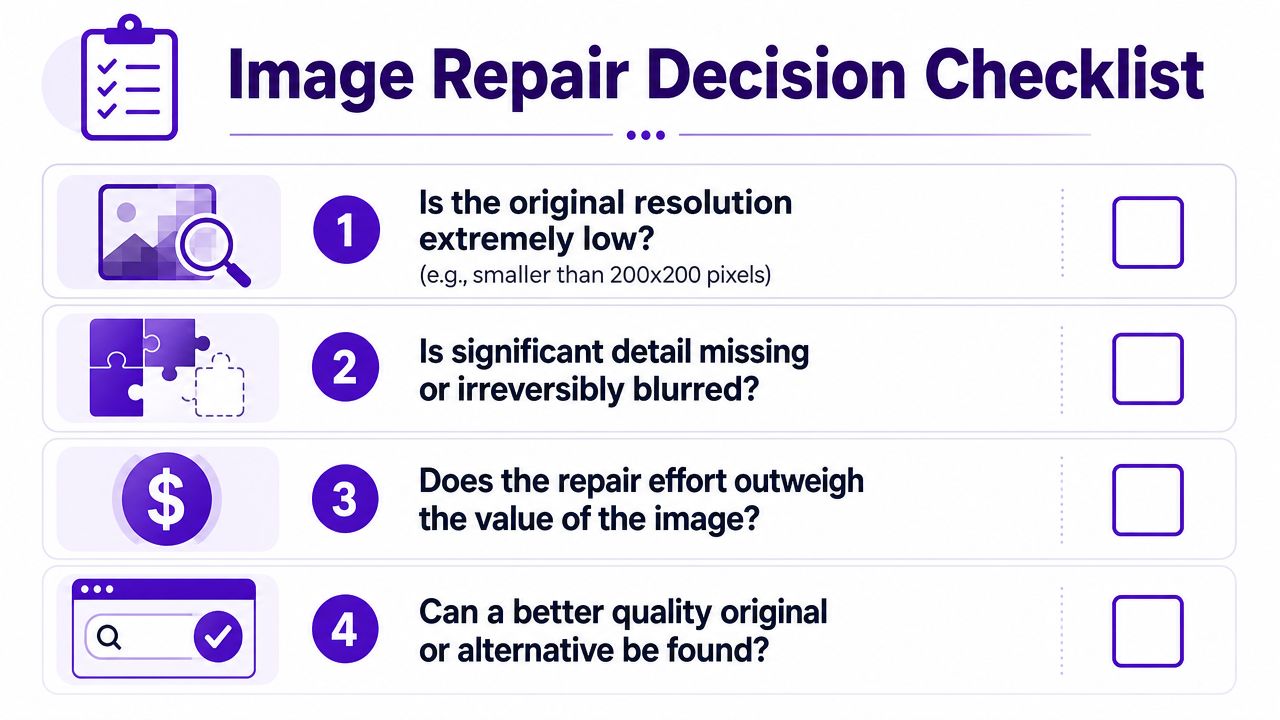
Ask these four questions:
Can you still read the subject clearly?
If a face has lost its features, a product edge has turned blocky, or the main shape is muddy, any fix starts inventing details instead of restoring them.
Does the file have enough real information to work with?
Good lighting, stable focus, and cleaner edges give AI and manual tools more to build from. Dark, blurry, heavily compressed files usually fall apart fast. If the image also needs to be used at larger sizes, check the target dimensions against this guide to image resolution for printing before you spend an hour polishing a file that still will not hold up.
Are you refining texture or reconstructing missing content?
Smoothing jagged skin, fabric, or background texture is often realistic. Rebuilding an eye, restoring unreadable text, or guessing a logo contour is a redesign job, not a repair job.
Is the image important enough to justify the time?
A meaningful portrait, a one-time event shot, or a brand image with no replacement may deserve careful salvage work. A low-quality screenshot or disposable social graphic usually does not.
Replace the file early. That is often the stronger creative choice.
Try one of these:
The goal is not to save every image. The goal is to get the best result with honest expectations. Strong editors know the difference.
Most pixelation problems begin long before the fix. They start with a weak source file, a rushed export, or a habit of saving the same compressed image over and over.
The strongest prevention is boring and effective. Keep the best original. Name it clearly. Don't design from a screenshot if the actual file exists somewhere in your drive, inbox, or cloud folder.
A few habits make a real difference:
Designers often create the damage at the export stage. A file that looks fine as a phone thumbnail can collapse when reused for a print insert, Etsy listing banner, or author promo graphic.
For print work, resolution planning matters early. This guide to image resolution for printing is helpful if you're deciding what size and quality to prepare before export.
A simple mindset helps: choose your final use first, then prepare the image for that destination. Don't make a tiny social export and hope it can later become a poster, cover, or shop graphic.
The cleanest pixelated image fix is the one you never need because you protected the source from the start.
If you want a fast first pass on a low-resolution image before moving into manual cleanup, starryai offers creative tools for generating and enhancing visuals, which can be useful when you're testing whether an image is still salvageable for web, social, or concept use.


.svg)