


Written by Mo Kahn on
August 20, 2026


You record a 15-second before and after transformation, publish it, and wait for the reaction. The edit looks polished on your screen, yet viewers scroll past because they can't identify what changed. A blur, morph, or glitch may signal movement, but it doesn't automatically create understanding.
A convincing transformation starts earlier than the transition. You need a visible change, a compatible source image, a prompt that protects continuity, and an export that gives viewers enough time to inspect the result. That workflow works for a hairstyle, outfit, room renovation, restored product, fictional character, or AI-generated age progression.
A viewer should be able to describe the change in one breath. “Long hair to sleek bob” works. “A more confident aesthetic” doesn't, unless you show the concrete visual evidence that makes confidence readable.
Start by choosing one primary attribute. It might be a haircut, makeup style, outfit, apparent age, fitness presentation, renovated room, or plant at a later growth stage. You can add supporting details, but one change should carry the story. If the viewer has to compare hair, lighting, background, body position, and wardrobe at the same time, the transformation becomes difficult to inspect.
Write the idea as a noun-led comparison:
This wording gives an image generator a job it can perform. It also helps you decide whether the piece should be a clean A-to-B swap or a staged evolution with intermediate frames. A direct swap suits a hairstyle or product restoration. A sequence can work better for a room remodel, seasonal change, or character development, where the audience benefits from seeing the state evolve.
Practical rule: If the transformation can't be named before generation, it probably won't be understood after generation.
The same principle applies to physical styling content. If you're planning a hair transformation, resources such as pro tips for blending extensions can help you think about the actual visual mechanics of the change, rather than treating the result as a vague beauty filter.
Decide the story format before opening starryai. A flip needs two strongly matched states. A montage needs planned milestones. A slow reveal needs a stable composition that can survive longer on screen. Prompt generators become much more useful when you already know whether you're building a flip, montage, or reveal.
The strongest pair looks like one subject in two states, not two unrelated generations placed beside each other. Your source photo does most of the continuity work, so choose it with the final comparison in mind.
Use a clear image with visible facial features or object details, even lighting, and enough surrounding space to preserve the intended crop. A front-facing portrait is easier to transform into another front-facing portrait than into a dramatic side profile. Likewise, a room photographed from one corner should remain in that approximate camera position after the renovation. AI can invent a compelling result, but it can't reliably repair a weak visual relationship between the source and target.
Write the target as a short production brief:
This prevents the generation from becoming a lottery. For skincare-related visual references, even something like tretinoin on neck results can remind you that a useful comparison depends on consistent framing and an observable state change, not merely a more flattering image.
Consent matters as much as composition. Don't transform a real person's likeness without permission, and don't use copyrighted characters as if you own the underlying identity or commercial rights. Fictional subjects, original characters, and personal projects give you more room to experiment without misleading people.
Before uploading the source image to starryai, check:
If the answer to several of these is no, choose another source image. Generation can't consistently preserve information that the original photograph hides.
A useful prompt separates what must stay from what must change. Start with identity and composition, then state the transformation, then define the environment, lighting, and finish. This order reduces the chance that a dramatic style instruction will overpower the subject.
For prompt fundamentals, the starryai guide to writing AI prompts provides a useful reference. In practice, I use a structure like this:
Subject and continuity → transformation → setting and light → style and quality controls.
Before prompt:
Realistic portrait of the same adult woman, shoulders and head visible, facing the camera, neutral expression, slight head tilt to the right, pale wall background, soft window light from the left, natural skin texture, editorial photography.
After prompt:
Realistic portrait of the same adult woman, same face, eye line, shoulder position, crop, pale wall background, and soft window light from the left. Transform her shoulder-length textured hair into a chin-length sleek bob with a clean, precise edge and natural strand detail. Preserve facial proportions, expression, skin texture, and head tilt. Editorial photography, realistic finish, no face reshaping, no extra accessories.
The repeated composition phrases carry continuity. “Transform her shoulder-length textured hair” carries the change. “No face reshaping” prevents the model from treating the haircut as permission to rebuild the person.
Before prompt:
Documentary product photograph of the same vintage bicycle, full frame visible, left side profile, front wheel turned slightly toward the camera, concrete workshop floor, neutral gray wall, diffuse light from the upper left, realistic metal and rubber texture.
After prompt:
Documentary product photograph of the same vintage bicycle in the same left side profile, identical wheel position, camera distance, workshop floor, gray wall, and diffuse light from the upper left. Transform the heavily rusted frame into a carefully restored deep-green frame with clean chrome components, intact black tires, and subtle signs of authentic use. Preserve the bicycle's geometry, handlebar shape, wheel size, and position. Realistic product photography, no redesign, no extra parts.
Avoid contradictory instructions such as “front-facing side profile,” “dramatic overhead close-up,” and “distant full-body shot” in the same prompt. Don't mix cartoon cues with photorealistic requirements unless the contrast is intentional and you can accept a less stable result.
Reroll when the after image loses the gaze, posture, crop, or object geometry. Use seed or variation controls when available, and keep a record of the prompt that produced the most faithful composition. The best iteration isn't the most spectacular one. It's the one that looks like the same subject after the planned change.
Continuity turns two outputs into a sequence. Treat the before and after as one scene photographed by one camera, even when the transformation is imaginative.
Lock the pose, eye line, head tilt, body orientation, crop, and background plane. For a product, lock the object angle, visible surfaces, wheel or handlebar position, and distance from the frame edges. For a room, preserve architectural lines, window placement, door position, and the camera's relationship to the floor.
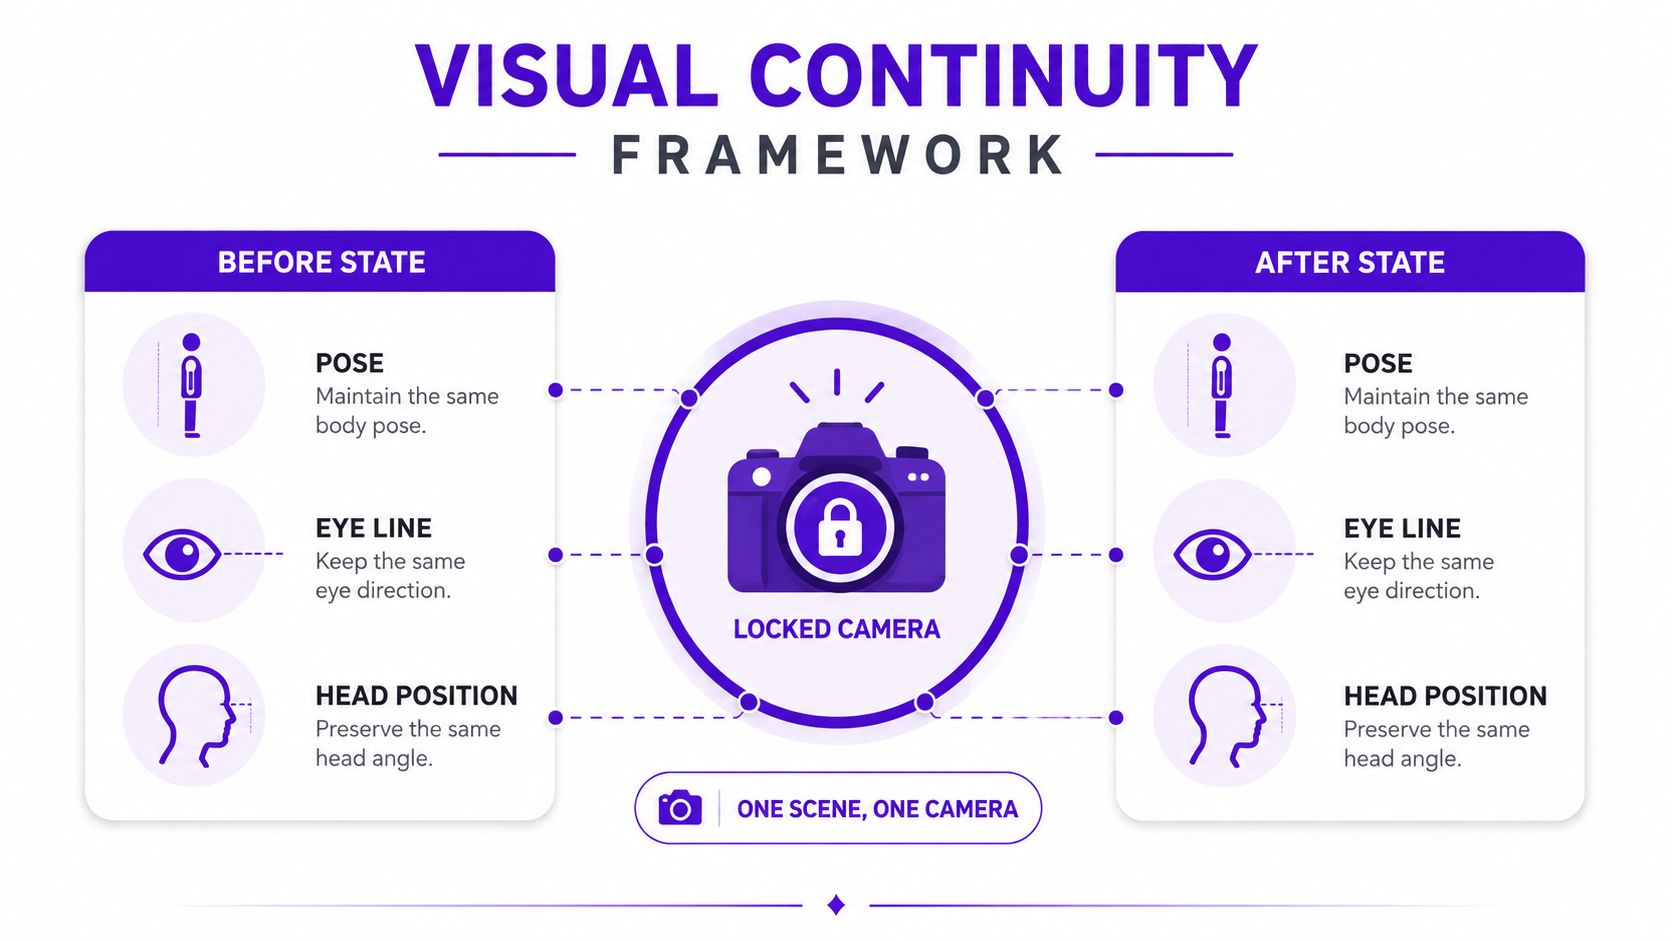
Lighting direction and shadow placement often reveal a mismatch faster than facial detail. If the before image has soft light from the left, an after image with hard light from above will feel like a separate shoot, even when the pose matches. Keep color temperature, contrast, and the direction of cast shadows aligned.
Preserve features that aren't part of the transformation. A hairstyle change shouldn't randomly alter facial proportions. A product restoration shouldn't change the frame geometry. A room refresh shouldn't move a window unless relocation is the actual story.
| Keep stable | Change deliberately |
|---|---|
| Pose and eye line | Selected hairstyle or finish |
| Camera distance and crop | Wardrobe, color, or condition |
| Background plane | Planned objects or furnishings |
| Light direction and shadows | Era, season, or design language |
| Unchanged accessories and landmarks | Texture associated with the transformation |
Use variation or seed features to hold the composition when the tool provides them. If the model drifts, regenerate with the same camera and composition cues instead of trying to hide the mismatch with motion effects. Detail density also needs control. State what should remain sharp and what can soften, otherwise hands, jewelry, seams, and material textures may mutate between states.
A fast visual test catches many failures. Flip between the two images quickly. If you read one subject across both frames, continuity is working. If you read two different photographs, return to the generation stage before adding animation.
The following video can help you think about the relationship between still-image matching and motion design.
Don't use the timeline to conceal weak continuity. Motion makes a sound pair more engaging, but it can't make unrelated states believable.
TikTok editing should answer the viewer's question quickly: what changed? Build the timeline around the reveal, not around the transition preset.
A result-first sequence can open with a brief glimpse of the finished state, rewind to the before image, hold the source long enough for the subject and context to register, and then reveal the after on a cut, swipe, or matched motion beat. For a simple swap, keep the edit short. A narrative reveal can run longer, but every extra moment should clarify the transformation rather than delay it.
Hard cuts often communicate more cleanly than elaborate morphs. The independent before-and-after UGC trend report from LightReel reports that hard cuts beat smooth morphs, wipes, and split-screen formats by 10 to 50 times in views across fitness and room-makeover niches, while result-first storytelling often outperformed explanation-first formats. Treat that as directional evidence, not a guarantee for every account or subject.
CapCut or a comparable editor can handle the practical details:
Avoid masking the transformation behind glitch overlays, excessive blur, or stacked effects. If a viewer can't compare the before and after, the edit has removed the evidence that makes the content satisfying.
TikTok's vertical format requires a 9:16 frame at 1080 by 1920 resolution. Export at a high bitrate, then re-import the file and inspect the actual upload version. Check hair edges, hands, small text, product corners, and the reveal crop. More practical ideas for matching the visual effect to the story appear in starryai's guide to video transitions.
Polish doesn't equal credibility. A transformation can look technically clean while still feeling mass-produced because it repeats the same studio pose, glossy skin treatment, stock wardrobe, or familiar AI aesthetic.
Start with a specific intention. A seller might show an original product becoming a coherent campaign visual. An author might transform an original character from a rough portrait into a cover concept. A creator might show a real wardrobe change while preserving the person's recognizable posture. Those choices give the visual a reason to exist beyond copying a trend.
Label AI involvement in the caption or on-screen text, especially when the image depicts a real person or a realistic physical result. In 2026, guidance around synthetic media depicting real people increasingly requires labeling, and industry coverage notes obligations introduced by platforms including Meta, Google, LinkedIn, and TikTok, with C2PA identified as a technical method for embedding provenance metadata. See the 2026 AI image-generation guidance from AniAvatar for that context.
Consent remains essential. Don't stylize someone's likeness in a way that could mislead viewers, imply a real result, or suggest an endorsement. Meta advertising policies are especially restrictive around personal transformation ads. Coverage of Meta's before-and-after ad restrictions notes that side-by-side body transformation photos, split-screen comparisons, and even explicit before-and-after labels can be treated as violations across Facebook, Instagram, Messenger, and Audience Network.
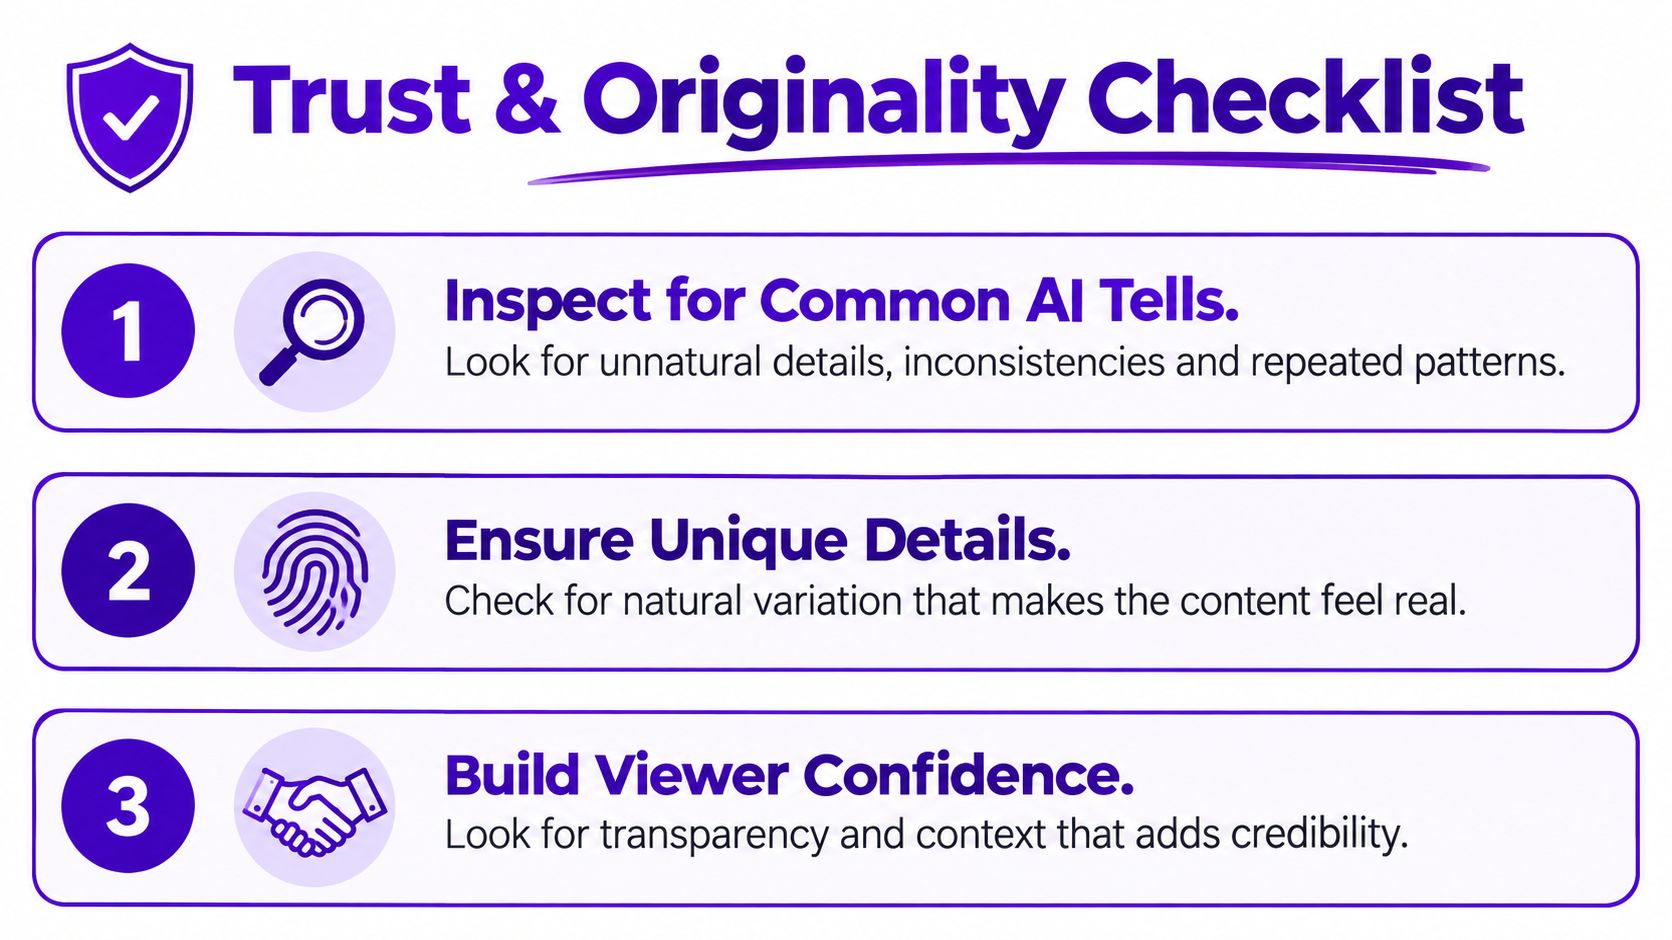
Ask one useful question before publishing: does this transformation offer a visual idea that a standard filter couldn't provide? If it does, restraint usually strengthens the result. If it doesn't, more effects won't solve the underlying lack of purpose.
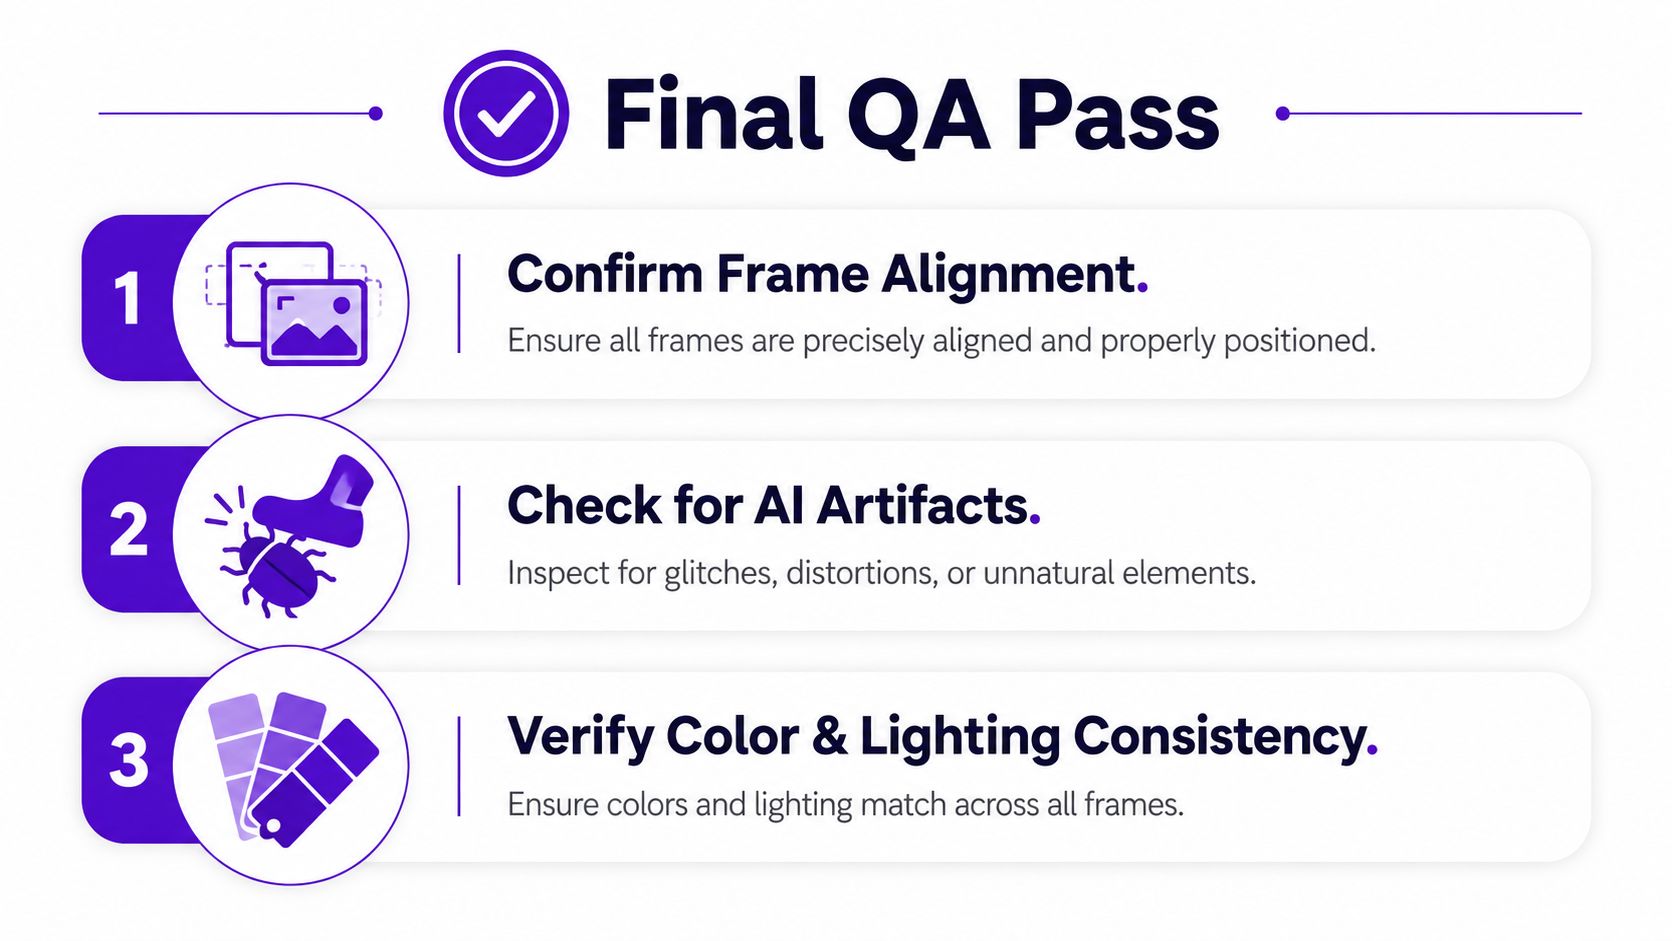
A final quality pass should happen after editing, not only after generation. Watch the clip without pausing, then inspect both still states side by side. Confirm that the camera angle, subject identity, crop, and lighting remain aligned, and look for artifacts around fingers, hair, teeth, jewelry, text, object edges, and architectural lines.
Build hashtags around both reach and relevance, combining broad creative terms with niche transformation language. Review the post in the platform preview before publishing, and use the available starryai sharing options when you want to distribute the finished work beyond a single feed.
The workflow is reusable because each decision is inspectable. If the result fails, you can identify whether the problem came from the source image, prompt, continuity, edit, disclosure, or export, then fix that stage instead of adding another effect.
starryai offers image-to-image transformation, style transfer, age-filter concepts, and photo editing from uploaded images or prompts, which makes it suitable for testing the paired states described here. Visit starryai to create a source-to-result concept, refine the continuity, and prepare a transformation you can share with confidence.


.svg)